
플러터 소스코드를 작성하던 중, HTTP Status 200 OK 이외의 상황에서, 에러 메시지를 어떻게 표시하는지 궁금해졌다. 이에 대한 좋은 예제가 flutter-ko.dev에 있었다.
import 'dart:async';
import 'dart:convert';
import 'package:flutter/material.dart';
import 'package:http/http.dart' as http;
Future<Post> fetchPost() async {
/// http.get() 메서드를 사용하여 JSONPlaceholder 으로부터 샘플 Post를 가져올 것입니다
/// http.get() 메서드는 Response를 포함하고 있는 Future를 반환합니다.
/// Future는 비동기 연산에 사용되는 Dart의 핵심 클래스입니다. Future 객체는 미래의 특정 시점에 사용가능한 잠재적인 값이나 에러를 나타내기 위해 사용됩니다.
/// http.Response 클래스는 http 요청이 성공했을 때 응답으로 받은 데이터를 갖고 있습니다.
final response =
await http.get(Uri.parse('https://jsonplaceholder.typicode.com/posts/1'));
if (response.statusCode == 200) {
/// 만약 서버로의 요청이 성공하면, JSON을 파싱합니다.
return Post.fromJson(json.decode(response.body));
} else {
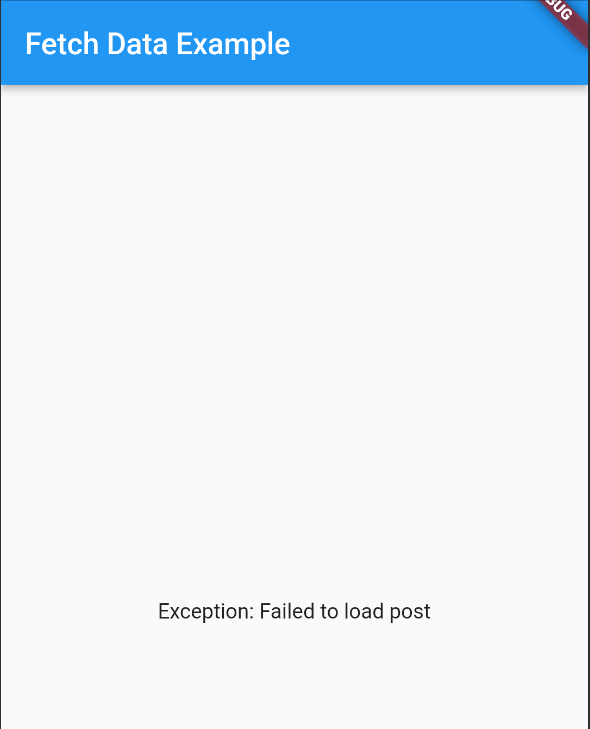
/// 만약 요청이 실패하면, 에러를 던집니다.
throw Exception('Failed to load post');
}
}
/// 네트워크 요청으로부터 받은 데이터를 지니고 있을 Post 클래스를 생성하세요. JSON으로부터 Post를 생성하는 factory 생성자를 포함할 것입니다.
class Post {
final int userId;
final int id;
final String title;
final String body;
Post({required this.userId, required this.id, required this.title, required this.body});
factory Post.fromJson(Map<String, dynamic> json) {
return Post(
userId: json['userId'],
id: json['id'],
title: json['title'],
body: json['body'],
);
}
}
void main() => runApp(MyApp());
/// Reference: https://flutter-ko.dev/docs/cookbook/networking/fetch-data
class MyApp extends StatefulWidget {
MyApp({Key? key}) : super(key: key);
@override
_MyAppState createState() => _MyAppState();
}
class _MyAppState extends State<MyApp> {
late Future<Post> post;
@override
void initState() {
super.initState();
/// fetch 메서드를 initState() 혹은 didChangeDependencies() 메서드 안에서 호출하세요.
/// initState() 메서드는 딱 1번만 실행되고 절대 다시는 실행되지 않습니다.
/// API를 응답에 따라 다시 로드하고 싶다면 InheritedWidget의 변경에 대한 응답으로 API를 다시 로드하고 싶다면 didChangeDependencies() 메서드 안에 호출을 넣으십시오.
post = fetchPost();
/// fetchPost()를 initState()에서 호출하는 이유는?
/// 편리하겠지만, API 요청 코드를 build() 메서드 안에 위치시키는 것은 바람직하지 않습니다.
/// Flutter는 무언가 변경될 때마다 build() 메서드를 호출하는데, 이 호출은 놀랄 만큼 자주 일어납니다.
/// 만약 네트워크 요청 코드를 build() 메서드에 그대로 남겨둔다면, 불필요한 API 요청이 아주 많이 발생하고 앱이 느려질 수 있습니다.
}
@override
Widget build(BuildContext context) {
return MaterialApp(
title: 'Fetch Data Example',
theme: ThemeData(
primarySwatch: Colors.blue,
),
home: Scaffold(
appBar: AppBar(
title: Text('Fetch Data Example'),
),
body: Center(
/// 데이터를 화면에 보여주기 위한 목적으로, FutureBuilder 위젯을 사용할 수 있습니다. FutureBuilder 위젯은 Flutter에 기본적으로 제공되는 위젯으로 비동기 데이터 처리를 쉽게 해줍니다.
/// 두 가지 파라미터를 넣어야 합니다:
child: FutureBuilder<Post>(
/// 원하는 Future를 넣습니다. 여기서는 fetchPost() 함수에서 반환된 future를 넣습니다.
future: post,
/// Future의 상태(로딩, 성공 혹은 에러)에 따라 Flutter에게 무엇을 랜더링해야 할지 알려줄 builder 함수를 넣습니다.
builder: (context, snapshot) {
if (snapshot.hasData) {
return Text(snapshot.data!.title);
} else if (snapshot.hasError) {
return Text("${snapshot.error}");
}
// 기본적으로 로딩 Spinner를 보여줍니다.
return CircularProgressIndicator();
},
),
),
),
);
}
}
정상 실행의 경우, https://jsonplaceholder.typicode.com/posts/1를 통해 아래와 같은 데이터를 처리하게 됨.
{
  "userId": 1,
  "id": 1,
  "title": "sunt aut facere repellat provident occaecati excepturi optio reprehenderit",
  "body": "quia et suscipit\nsuscipit recusandae consequuntur expedita et cum\nreprehenderit molestiae ut ut quas totam\nnostrum rerum est autem sunt rem eveniet architecto"
}
아래와 같이 나타남(body를 렌더링).

에러의 경우
덧. 로딩 스피너CircularProgressIndicator도 깨알같이 포함되어 있다.


