오늘부터 다시 앵귤러 공부 시작.
https://app.pluralsight.com/library/courses/angular-forms/table-of-contents
위 강좌를 보며 실습.
![o user-settings-form.componl
app.module.ts
src > app > TS app.module.ts > AppModule
1
2
3
5
6
7
8
9
10
11
12
13
14
15
16
17
18
19
import { BrowserModu1e } from '@angular/platform-browser' ;
import { NgModu1e } from '@angular/core';
import { FormsModu1e } from '@angular/forms';
import { AppComponent } from ./app. component' ;
@NgModu1e({
declarations: [
AppComponent
imports: [
BrowserModu1e
FormsModu1e
providers: [J'
bootstrap: [AppComponent]
export class AppModu1e { }](https://archmond.net/wp-content/uploads/2020/03/image-2.png)
app.module.ts에 FormsModule 추가(import)한 뒤 ng g c user-settings-form 명령으로 모듈 추가

추가한 모듈에 form을 간단히 추가한 뒤

app.component.html에 app-user-settings-form.ts 파일에 있던 selector 명칭으로 태그를 입력
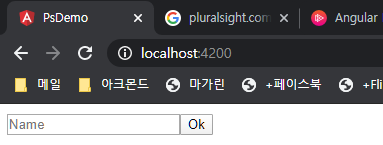
초간단 폼 완성.
———————
부트스트랩(Bootstrap) 스타일 입히기
참고: 부트스트랩 4.4 폼
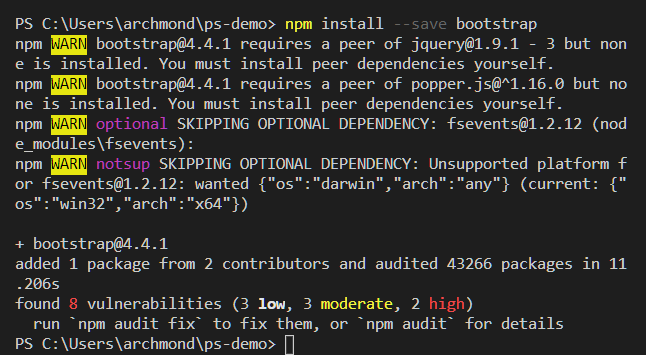
npm install –save bootstrap 명령으로 부트스트랩 노드 모듈 추가
![{l angular.json
angular.json >
14
15
16
17
18
19
20
21
22
23
24
25
26
27
28
29
30
31
32
projects ps-demo > {Y architect > { } build > {y options > [ ] styles
"builder " :
"@angular-devkit/build - angular : browser" ,
"options " :
"outputPath "dist/ps-demo" ,
"index": "src/index. html " ,
"main" • "src/main.ts"
"polyfills": "src/polyfills . ts"
"tsConfig"• "src/tsconfig. app. json"
"assets " :
"src/favicon . ico"
"src/assets"
" styles " •
" node_modules/bootstrap/dist/css /bootstrap. min. css
" src/styles . css"
"scripts"
" es5BrowserSupport " •
"configurations" .
true](https://archmond.net/wp-content/uploads/2020/03/image-9.png)
angular.json 파일의 styles에 부트스트랩 모듈 기재(src/styles.css보다 이전에 위치하도록)
“node_modules/bootstrap/dist/css/bootstrap.min.css”,

button의 class에 bootstrap 스타일을 입혀주면 적용완료!
——————–
체크박스&라디오버튼 넣기
부트스트랩 문서에서 체크박스 샘플 소스 코드가 있다. 이를 참조하여 입력.
라디오버튼도 조금만 스크롤하면 밑에 존재한다.
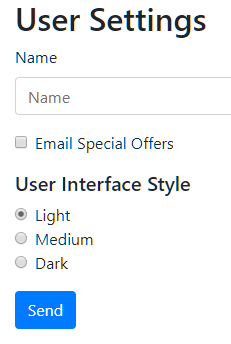
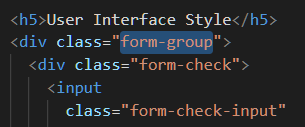
체크 박스나 라디오버튼의 그룹 스타일링을 위해 form-group 클래스를 입력해 묶어줌.
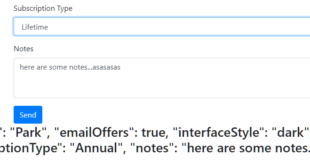
그 외에도 Select, Textarea를 추가.

이 다음에는 데이터 바인딩으로 넘어간다. 두근두근!


댓글 하나
핑백: Angular Forms: Data Binding – 아크몬드넷