qBittorrent 설치

# qBittorrent Stable
sudo add-apt-repository ppa:qbittorrent-team/qbittorrent-stable
Then install qBittorrent by doing this:
sudo apt-get update && sudo apt-get install qbittorrent
출처: <https://www.qbittorrent.org/download.php>

sudo add-apt-repository ppa:qbittorrent-team/qbittorrent-stable

sudo apt-get update && sudo apt-get install qbittorrent

프로그램 -> 인터넷 -> 큐빗토런트 항목 확인 가능.
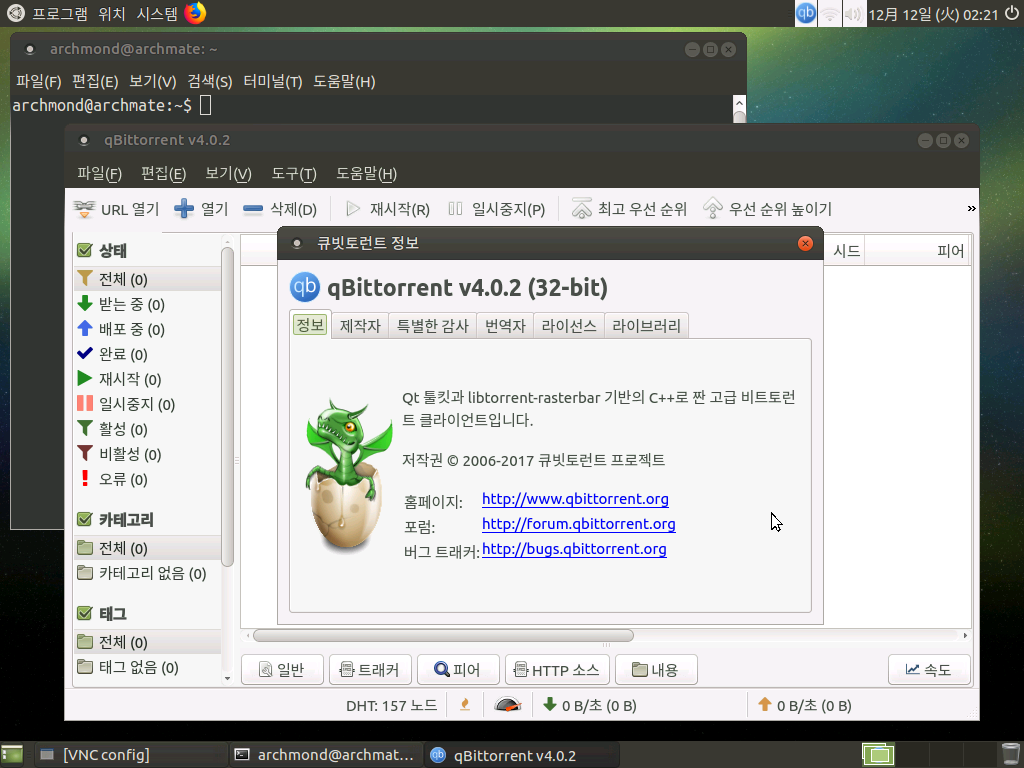
잘 실행된다.
웹 UI 설치
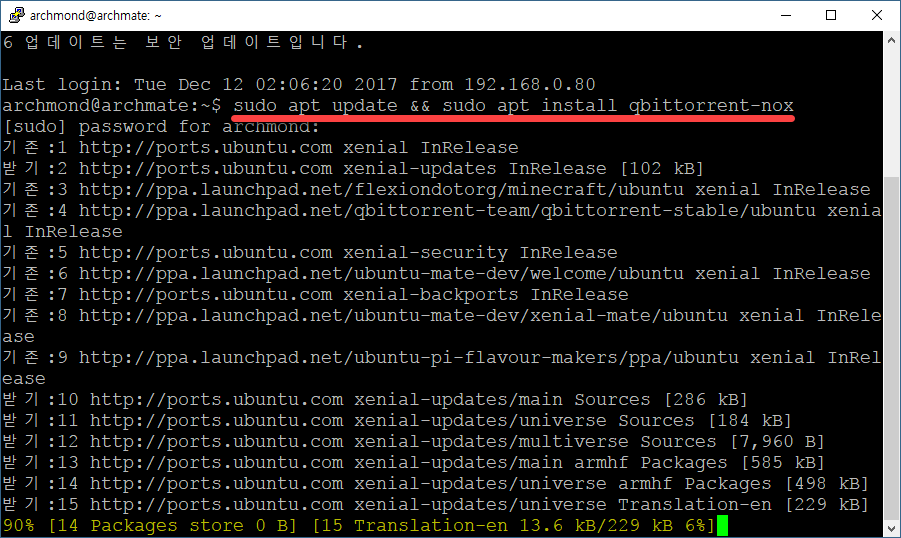
sudo apt update && sudo apt install qbittorrent-nox

sudo adduser qbtuser
새 사용자 추가.

sudo gpasswd -a qbtuser sudo
사용자를 sudo 그룹에 추가

sudo nano /etc/systemd/system/qbittorrent-nox.service
파일 편집

[Unit] Description=qBittorrent Daemon Service
After=network.target [Service] Type=forking
User=qbtuser
ExecStart=/usr/bin/qbittorrent-nox -d [Install] WantedBy=multi-user.target
출처: <https://www.linuxbabe.com/bittorrent/qbittorrent-web-ui-ubuntu>
위 내용 입력 후 저장
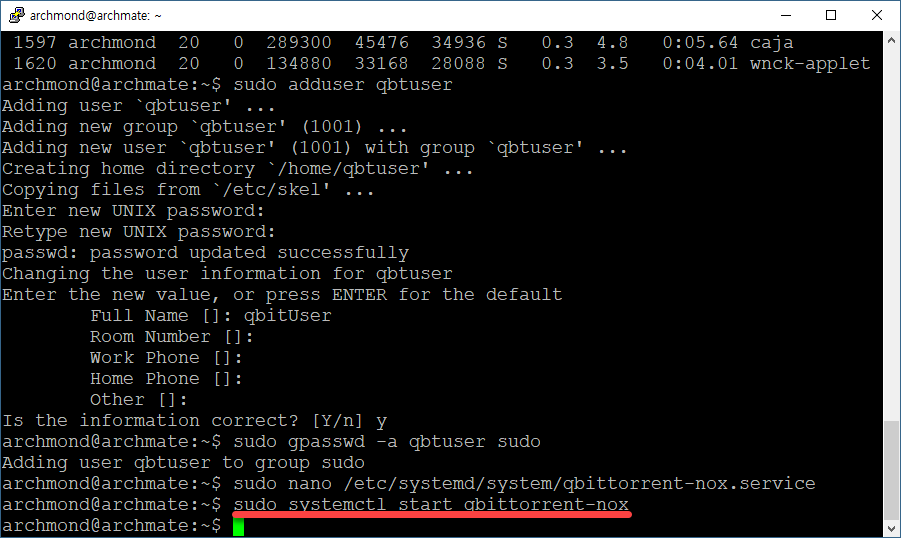
sudo systemctl start qbittorrent-nox
서비스 시작
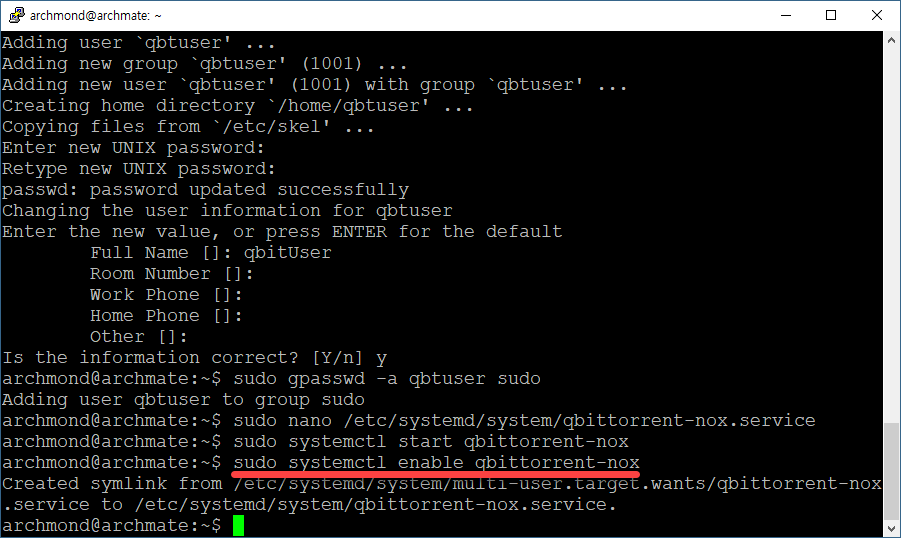
sudo systemctl enable qbittorrent-nox
시스템 시작 시 자동으로 켜기.

systemctl status qbittorrent-nox
서비스 상태 확인
웹 UI 실행

리눅스 IP:8080 포트로 들어가면 웹 UI가 실행된다. 기본 아이디는 admin, 기본 비밀번호는 adminadmin 이다. 즉, 필수로 변경해야 함.
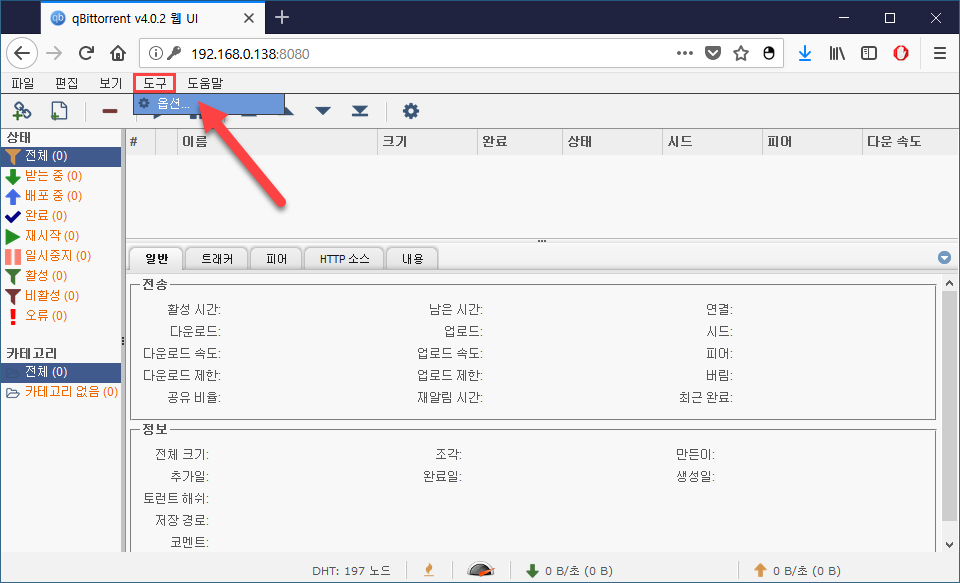
도구 -> 옵션
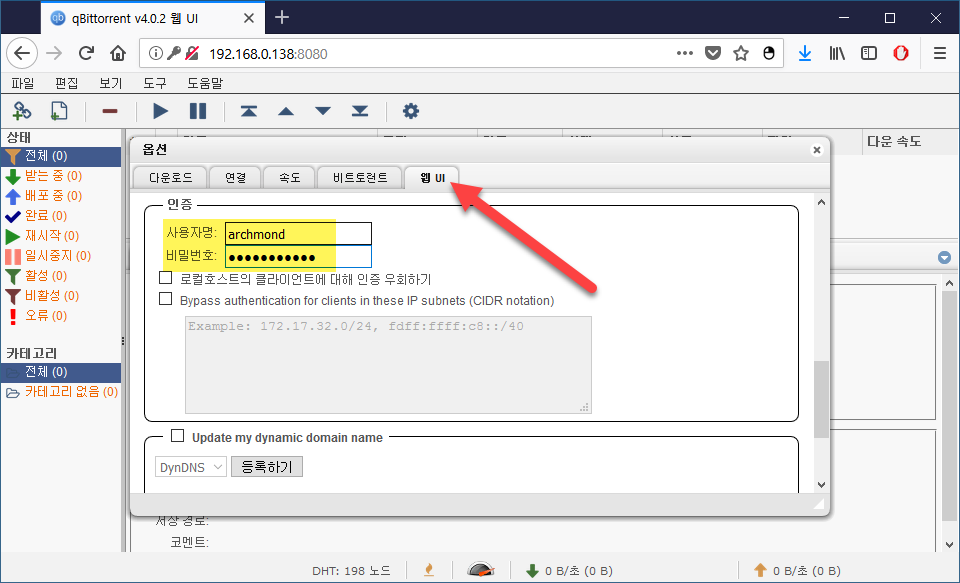
웹 UI -> 인증 부분에서 사용자명과 비밀번호를 수정할 수 있다.


